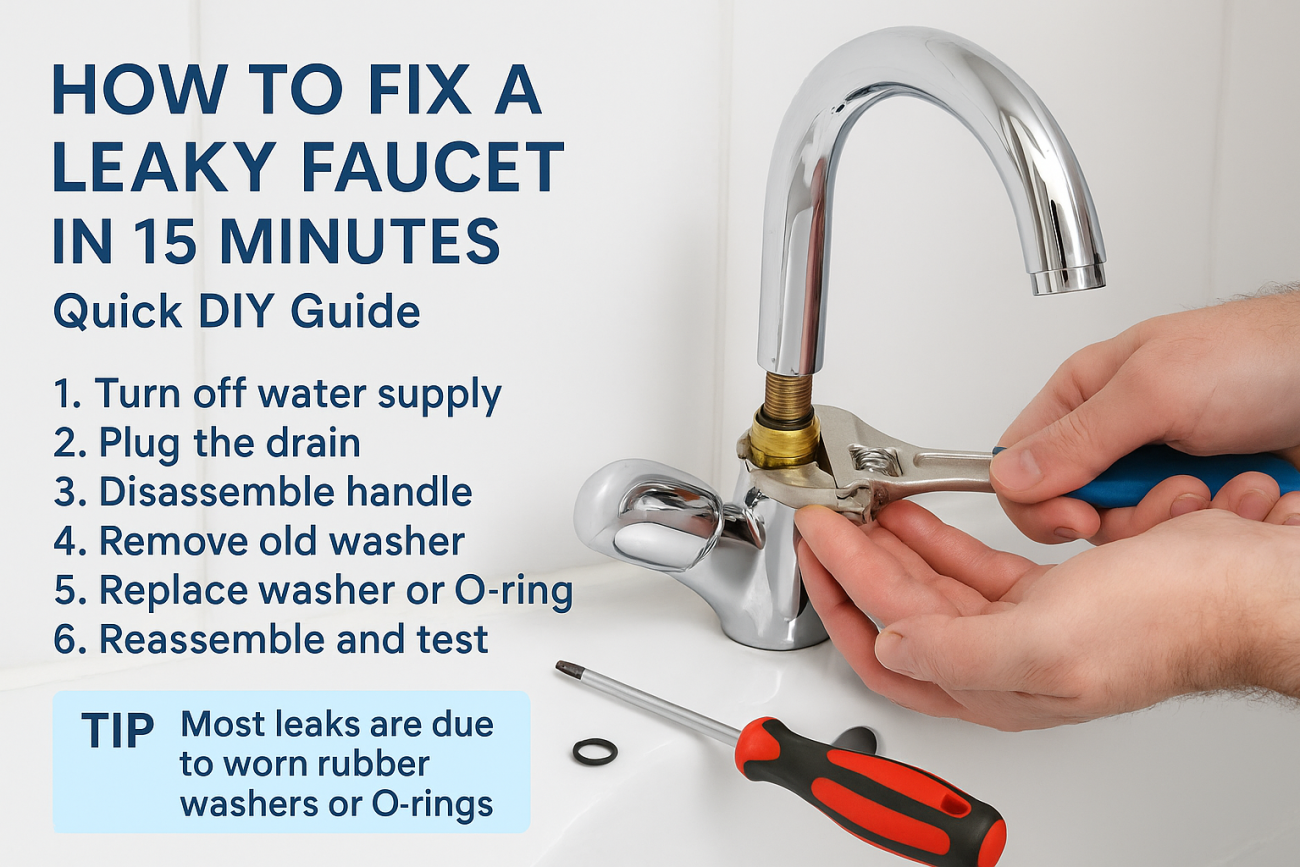
How to Fix a Leaky Faucet in 15 Minutes – Quick DIY Guide
Tired of the constant drip-drip-drip from your faucet? Not only is it annoying, but it can also waste gallons of water and bump up your water bill. The good news? You don’t need to call a plumber! With just a few tools and this quick guide, you can fix a leaky faucet yourself in as little as 15 minutes. Let’s dive in!
Why Is My Faucet Leaking?
A leaky faucet is one of the most common plumbing problems found in homes, and it can be surprisingly frustrating. But before you can fix the drip, it helps to understand why it happens in the first place.
In most cases, a leaky faucet is caused by a worn-out or damaged washer or O-ring inside the faucet assembly. These small rubber or silicone parts form a seal that stops water from flowing when the tap is shut off. Over time, the constant pressure and motion—every time you turn the faucet on or off—can cause the washer or O-ring to become brittle, cracked, or flattened. Once they lose their ability to form a tight seal, water begins to slowly seep through, even when the handle is in the off position.
But washers and O-rings aren’t the only culprits. Other common causes include:
-
Corroded valve seat: The valve seat is the connection between the faucet and the spout. Hard water, minerals, or old age can cause corrosion or mineral deposits to build up here, preventing a proper seal.
-
Loose or worn parts: Sometimes the packing nut or adjusting ring inside the handle loosens over time, which can allow water to leak.
-
Cartridge or ceramic disc wear: Modern faucets often use cartridges or ceramic discs instead of traditional washers. These can also wear out or get clogged with debris, leading to leaks.
-
High water pressure: Excessively high water pressure can force water past seals and washers, causing leaks even if the parts are in good shape.
-
Improper installation: If a washer, O-ring, or cartridge wasn’t installed properly or is the wrong size, it can lead to persistent dripping.
In many cases, you’ll notice the leak gets worse over time, starting as a faint drip and becoming more frequent if left unaddressed. This constant dripping is not only annoying but also wastes water and can drive up your utility bills.
Tip: The good news is that most leaks can be fixed simply by replacing the faulty washer, O-ring, or cartridge. You don’t need special plumbing skills—just a few basic tools, a little patience, and the right replacement part.
Step-by-Step: How to Fix a Leaky Faucet
- Turn Off the Water Supply
Locate the water shut-off valves under the sink. Turn them clockwise to shut off both hot and cold water. Open the faucet to let any remaining water drain out. - Plug the Drain
Use a sink stopper or stuff a cloth into the drain to prevent screws or small parts from falling in. - Remove the Faucet Handle
Pry off the decorative cap (if any) on top of the handle using a flathead screwdriver. Unscrew the screw underneath and gently pull the handle off. If it’s stuck, a little penetrating oil can help. - Loosen the Packing Nut
Use an adjustable wrench to unscrew the packing nut underneath the handle. Carefully pull out the stem or cartridge (the part that the washer is attached to). - Inspect and Replace the Washer or O-Ring
Check the washer (usually at the bottom of the stem) and the O-ring (a small rubber ring on the stem). If either looks cracked, worn, or flattened, replace it with a matching new one from your repair kit. - Apply Plumber’s Grease (Optional)
A dab of plumber’s grease on the new washer and O-ring helps them last longer and ensures a smooth seal. - Reassemble the Faucet
Insert the stem or cartridge back in, screw the packing nut back on, and replace the handle. Tighten everything gently—do not overtighten, as this can damage the parts. - Turn the Water Back On & Test
Slowly turn the water supply valves back on. Open and close the faucet to check for leaks. If the drip is gone—congrats, you did it!
Common Questions & Troubleshooting
- What if my faucet still leaks? Double-check that you installed the correct size washer/O-ring and that all parts are tightened properly. In rare cases, the valve seat inside the faucet may be damaged and need replacement.
- Does this work for all faucets? The steps above cover most compression and cartridge-style faucets. Ball and ceramic disk faucets are a little different, but most leaks are still caused by worn seals.
- Should I replace both washers/O-rings? Yes—if you’ve already opened the faucet, it’s smart to replace all the small rubber parts to avoid future leaks.
Bonus: How Much Water Does a Dripping Faucet Waste?
Even a slow drip can waste up to 3,000 gallons of water per year! That’s why fixing leaks quickly isn’t just about saving money—it’s about protecting our planet.
As an Amazon Associate, we may earn a commission if you purchase through these links—at no extra cost to you. Thank you for supporting ToolNestHub.net!
With just a few basic tools and this simple guide, you can stop that pesky faucet drip in minutes—no plumber required! For more practical home improvement guides, check out our DIY Projects section or leave your questions in the comments below.
Happy fixing! — The ToolNestHub.net Team
