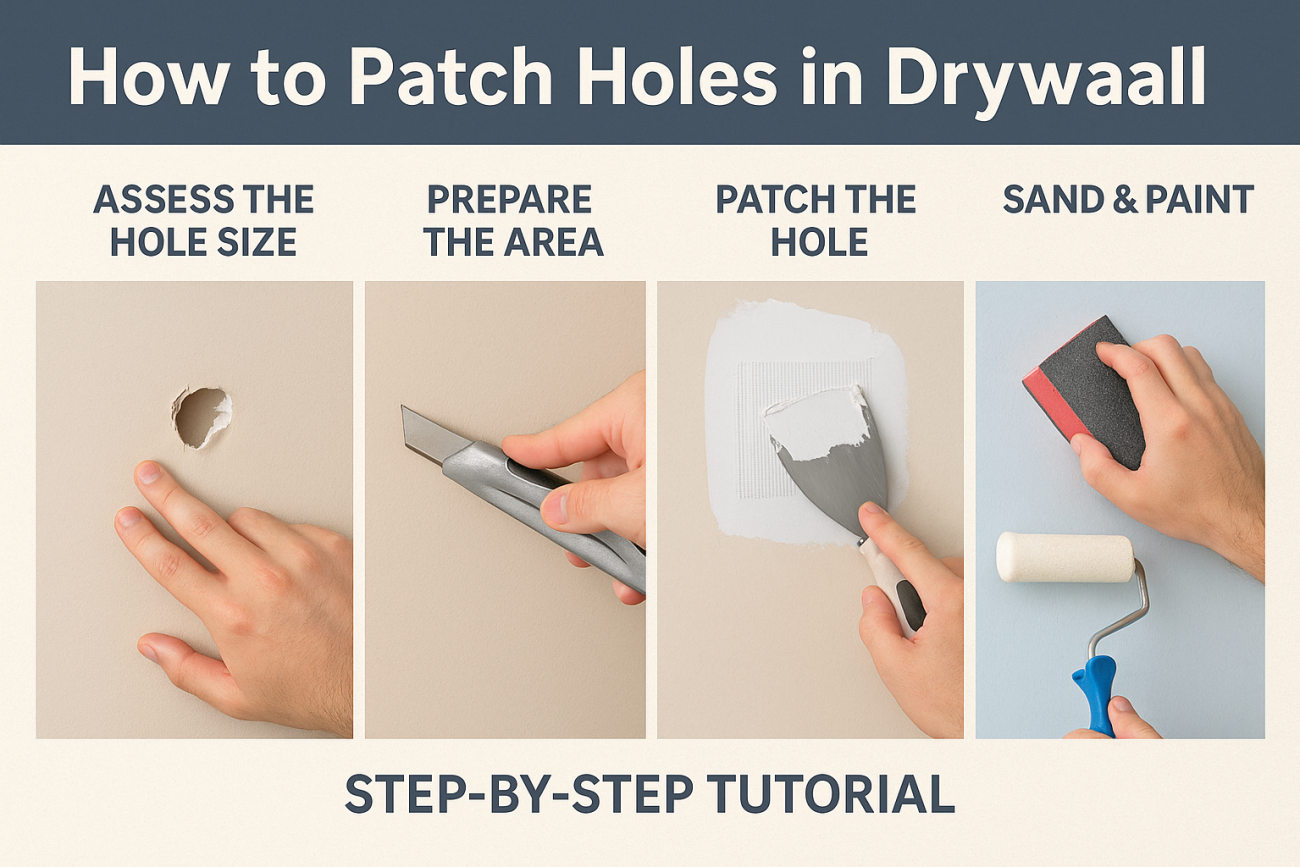
How to Patch Holes in Drywall – Step-by-Step Guide for Beginners
Accidents happen. Whether it’s a door that swings too far, a misplaced piece of furniture, or the aftermath of a home project, drywall holes are an inevitable part of life for most homeowners. Fortunately, patching holes in drywall is a skill anyone can learn with just a little time, the right tools, and some patience. In this guide, we’ll show you exactly how to fix holes of all sizes, from tiny nail holes to larger damage that needs a real patch. If you’ve been staring at that unsightly spot on your wall, read on—you’ll be amazed how easy it is to restore your walls to like-new condition!
Why Learn to Patch Drywall?
Drywall is a staple in modern homes because it’s easy to install and gives a smooth, clean finish to any room. But it’s also surprisingly fragile. Even minor accidents can leave marks, dents, or holes that stick out and make your home look worn or neglected. Learning to patch drywall isn’t just about appearance; it’s about protecting your home’s value, saving money on professional repairs, and feeling confident handling common home maintenance on your own.
What You’ll Need
- Putty knife (2- to 6-inch works for most repairs)
- Spackling paste or joint compound
- Sandpaper or sanding block (120-220 grit is ideal)
- Drywall patch or mesh tape (for holes larger than a quarter)
- Utility knife
- Primer and paint (to match your wall)
- Painter’s tape and drop cloth (to protect your floors)
- Optional: Small drywall saw, screws, wood backing for large holes, dust mask
Step 1: Assess the Hole Size
Not all holes are created equal! The method you use depends on the size of the hole:
- Tiny holes (nail or screw holes, <1/2 inch): Quick and easy fix with spackle.
- Medium holes (1/2 to 6 inches): Require a patch or mesh tape for support.
- Large holes (over 6 inches): Need a new piece of drywall and backing support.
Step 2: Prepare the Area
Start by clearing the area around the hole. Use your utility knife to remove any loose drywall, flaking paint, or jagged edges. If the wall is dirty, wipe it clean with a dry cloth. For larger holes, you may need to cut the damaged area into a neat square or rectangle so your patch fits snugly.
Step 3: Patching Small Holes
- Fill the Hole: Scoop a small amount of spackle onto your putty knife and press it firmly into the hole.
- Smooth the Surface: Scrape away any excess so the repair is level with the surrounding wall.
- Let It Dry: Most spackle dries within an hour, but check the manufacturer’s instructions.
- Sand Lightly: Use fine-grit sandpaper to gently smooth the surface.
- Prime and Paint: Once dry and smooth, touch up with primer and a matching coat of paint.
Step 4: Patching Medium Holes
- Apply Mesh Tape or Patch: Place self-adhesive mesh tape over the hole, or use a premade patch for extra strength.
- First Layer of Compound: Use your putty knife to apply joint compound over the tape or patch, feathering the edges outward.
- Let It Dry: Drying times vary (usually a few hours).
- Repeat: Apply a second (and sometimes third) thin coat, allowing each to dry and sanding between layers for a seamless finish.
- Prime and Paint: Once you’re happy with the smoothness, prime and paint.
Step 5: Patching Large Holes
- Cut a Clean Opening: Use your utility knife or a drywall saw to cut a clean square or rectangle around the damaged area.
- Install Backing Support: Insert a thin piece of wood (like a furring strip) behind the wall and screw it in place to act as a backing for your patch.
- Attach New Drywall: Cut a new piece of drywall to fit the hole, screw it into the backing.
- Tape the Seams: Apply mesh tape over all the seams.
- Build Up Compound: Use several thin coats of joint compound, feathering the edges wider with each layer. Sand between coats for a perfect blend.
- Prime and Paint: Clean off dust, prime, and repaint.
Pro Tips for Perfect Results
- Thin Layers are Key: Don’t try to fill a deep hole all at once—several thin layers prevent cracking and make sanding easier.
- Feather the Edges: Extend your compound several inches beyond the patch so the repair blends invisibly into the wall.
- Texture Match: If your wall isn’t perfectly smooth, use a sponge or stipple brush to mimic the surrounding texture before painting.
- Take Your Time: Allowing each layer to dry fully before the next is the secret to a flawless finish.
Frequently Asked Questions
Yes, especially over fresh joint compound—primer ensures even paint absorption and prevents patchy spots.
Try sanding again, feathering your next coat of compound even wider, and using a quality roller for painting.
Absolutely! Many home improvement stores and Amazon offer patch kits that include mesh patches, spackle, and even a small putty knife.
Final Thoughts
Patching drywall is one of the most empowering DIY skills you can learn. With a little practice, you’ll not only save money but also keep your home looking its best for years to come. Remember—patience is key, thin layers win, and nobody will know there was ever a hole once you’re done!
Have any tips or questions about drywall repair? Share your experiences in the comments below or check out our
DIY Projects section for more practical home improvement guides.
Happy fixing! — The ToolNestHub.net Team
