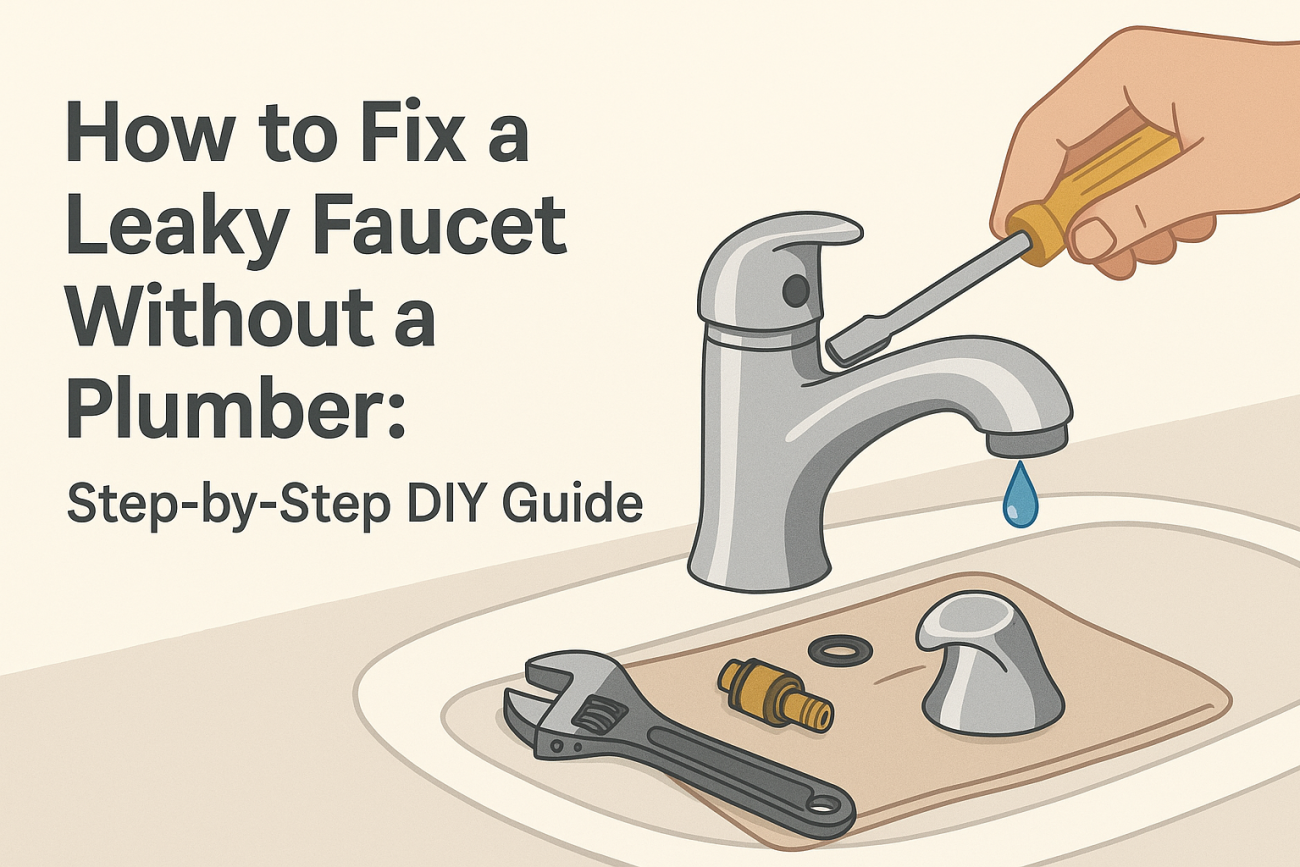
How to Fix a Leaky Faucet Without a Plumber: Step-by-Step DIY Guide
A leaky faucet is a common household nuisance that shouldn’t be ignored. Not only can it drive up your water bill, but the persistent drip can also be surprisingly distracting. Fortunately, you don’t need to be a professional plumber to address most faucet leaks. With some basic tools and the right approach, you can fix a leaky faucet yourself and restore peace—and savings—to your home.
Understanding the Causes of a Leaky Faucet
Before diving into repairs, it helps to know why faucets leak. Common causes include:
- Worn-out washers or O-rings – The most frequent culprit, especially in older compression faucets.
- Corroded valve seats – Over time, mineral deposits from hard water can corrode the valve seat connecting the faucet and spout.
- Loose or damaged parts – Components such as nuts, seals, or handles may loosen or degrade over time.
- Improper installation – Faulty or rushed installation can leave components prone to leaking.
Types of Faucets and Leak Locations
Identifying your faucet type is essential for effective repair. Here are the main types:
- Compression Faucets (two handles for hot and cold water)
- Ball Faucets (single handle, older kitchens)
- Cartridge Faucets (single or double handle, smooth movement)
- Ceramic Disk Faucets (single lever, very durable)
Pro Tip: Most leaks occur at the spout, but drips can also originate from the base or handles.
Tools & Materials Needed
Gather the following tools before you begin your DIY faucet repair:
- Adjustable wrench
- Flathead and Phillips screwdrivers
- Replacement washers, O-rings, or cartridges (matches your faucet type)
- Penetrating oil (for stuck parts)
- Small utility knife or pick
- Plumber’s grease
- Soft cloth or rag
- Bowl or stopper (to cover the drain)
Safety Precautions Before You Start
- Turn off the water supply under the sink to avoid unexpected sprays or flooding.
- Cover the drain with a stopper or cloth to prevent small parts from falling in.
- Take pictures during disassembly to aid reassembly.
- Work slowly and keep all removed parts organized.
Step-by-Step Guide to Fixing a Leaky Faucet
Step 1: Shut Off Water and Prepare the Area
Locate the shut-off valves under your sink and turn them clockwise to close. Open the faucet to relieve any remaining pressure and drain water from the lines. Place a towel or bowl under the sink to catch any drips.
Step 2: Remove the Faucet Handle
- Use a flathead screwdriver to gently pry off any decorative caps hiding the screw.
- Unscrew the handle and carefully lift it off, exposing the internal components.
- Apply penetrating oil if any parts are stuck.
Step 3: Identify the Problem Component
Depending on your faucet type, you may see a stem (compression), cartridge, or ball bearing assembly. Look for worn, cracked, or corroded washers, O-rings, or seals.
Step 4: Remove and Replace the Faulty Parts
For Compression Faucets:
- Use an adjustable wrench to loosen the packing nut and remove the stem.
- Replace the washer at the bottom of the stem with a new one of the same size. If the O-ring is worn, replace it as well.
For Cartridge Faucets:
- Pull out the cartridge by grasping it firmly and pulling straight up. Replace with a matching new cartridge.
For Ball or Ceramic Disk Faucets:
- Remove the ball or disk assembly and replace worn seals or O-rings as needed. Clean any mineral buildup using white vinegar.
Step 5: Reassemble the Faucet
- Lubricate any new O-rings or washers with plumber’s grease.
- Reinstall the components in the reverse order of removal.
- Secure the handle and replace the decorative cap, if applicable.
Step 6: Test the Faucet
- Slowly turn the water supply back on.
- Check for leaks. If the faucet still drips, ensure all parts are seated properly and tightened securely.
- Enjoy your leak-free faucet!
Troubleshooting Common Issues
- Faucet still leaks after replacement: Double-check that you’ve used the correct size parts and installed them in the proper orientation.
- Handle is difficult to turn: Apply additional plumber’s grease, or clean out debris from moving parts.
- Water pressure is low after repair: Remove and clean the aerator at the tip of the spout to dislodge debris.
When to Call a Professional Plumber
While most leaky faucets can be fixed with these DIY steps, call a licensed plumber if:
- The leak persists after multiple repair attempts.
- The faucet or internal parts are heavily corroded or stuck.
- You notice water damage, mold, or signs of more extensive plumbing issues.
Preventing Future Faucet Leaks
- Replace washers and O-rings regularly to prevent wear.
- Avoid over-tightening handles, which can damage components.
- Clean faucet aerators and spouts periodically to reduce mineral buildup.
- Install water softeners if you have hard water to prevent corrosion.
Conclusion: Fixing a Leaky Faucet is Easier than You Think!
Addressing a leaky faucet is a manageable DIY project that saves money and water. By following these simple steps and knowing when to seek professional assistance, you can maintain your home’s plumbing and prevent future headaches. With just a few tools, patience, and a proactive approach, you’ll have a quiet, efficient faucet in no time.
